
Photo Source
Although wallpaper seems to be making somewhat of a comeback, removing it is something we almost always do when remodeling a space that is wallpapered. In most cases, homeowners prefer to have all wallpaper removed to allow for the more modern aesthetic of paint. Unfortunately, in many older homes, wallpaper was applied on every wall of a room, so even if new wallpaper was going to be laid over one wall to provide a decorative accent, three other walls would still need to be scraped and prepped for paint! While not impossible, the task of removing wallpaper can be tedious, messy, and time-consuming.
Here are some tips from our small projects division to get the job done easily and correctly if you intend to DIY:

Photo Source
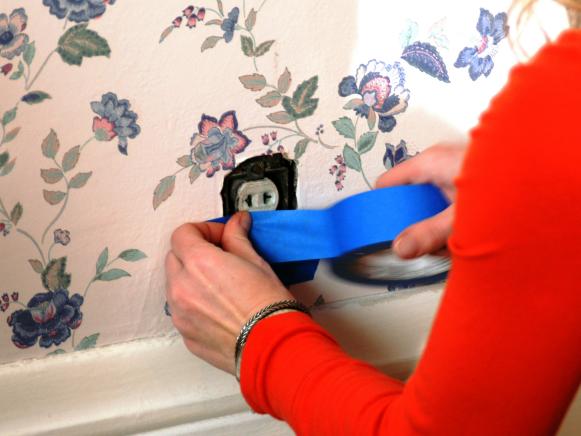
1. Prep Your Walls and Workspace
The obvious first step to removing old wallpaper is to clear the walls of anything that could get in your way. This includes shelving, wall art, outlet covers, and furniture that may be against the walls. It’s important to cover any outlets and switches with plastic and tape after removing the covers. You’ll also want to cover any furniture that remains in the room with plastic sheeting to avoid any accidental damage. Use drop cloths to cover the floor, taping the edges over the baseboards. This job will involve wetting the walls, so make sure the tape acts as a water-tight seal to protect the floors. It’s also a good idea to lay some old towels at the base of the walls over the plastic to absorb any runoff. Push the towels up as close to the baseboards as possible prior to beginning.

Photo Source
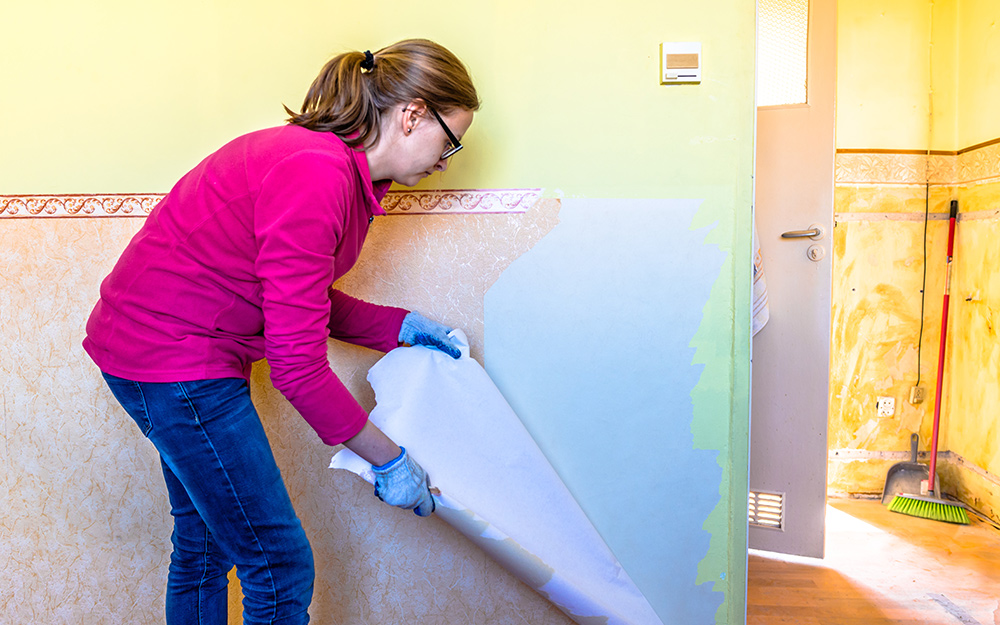
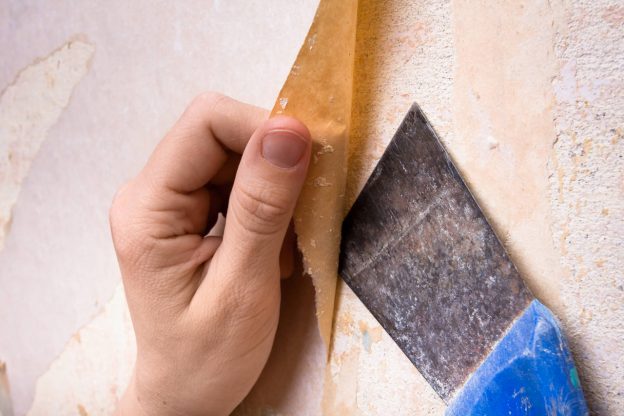
2. Peel off as Much Wallpaper as Possible
Find a corner or edge of the wallpaper and pull it out and away from the wall. You can use your fingers or a putty knife if needed. Waterproof and foil-type wallpapers can typically be pulled away from the surface by simply stripping them off with your hands. These types of wallpapers are more likely to come off the wall in large sheets or strips with a little bit of elbow grease. However, it’s important to make sure pulling it off does not damage the wall underneath. If it comes off relatively easily without causing any damage, continue the process until all of the wallpaper is removed. If the paper is stubborn, use a razor or Olfa knife to make shallow, parallel slices, roughly 10-12 inches apart. Then pry away these sections with your fingers. Any leftover pieces or areas that are too stubborn can be scraped away later with the help of warm water.
3. Use a Liquid Wallpaper Stripper Concentrate
Once you’ve removed as much of the dry wallpaper as possible, you can proceed to the next step of saturating the wallpaper in order to scrape it off.
For this step, you need to purchase a liquid wallpaper stripper concentrate. There are plenty to choose from at any home improvement store or online. You’ll also want to purchase a scoring tool in order to puncture the paper prior to applying the solvent. This is the most important part of this step, ensuring that the solution penetrates the wallpaper, allowing the concentrate to soak in and dissolve the glue.
After scoring the paper, follow the instructions on the container of the solvent and mix with hot water. Be sure to wear gloves and protective eyewear when handling the chemicals! Use a sponge or paintbrush to saturate wallpaper — starting with the bottom and working your way up. Leave it for at least 30 minutes. You can then check the paper by trying to scrape it away with your fingers. If it is loose, proceed to remove the paper with a scraper or putty knife. You may need to repeat the steps for any stubborn sections.
If you prefer not to use strong chemicals in your home, there are various other options that you can mix up yourself to get the job done, including ingredients like vinegar and fabric softener. Whether these options are as effective as the store-bought wallpaper removers is questionable, however. You can search online for details and how-to’s if this is something you’d like to try.

Photo Source
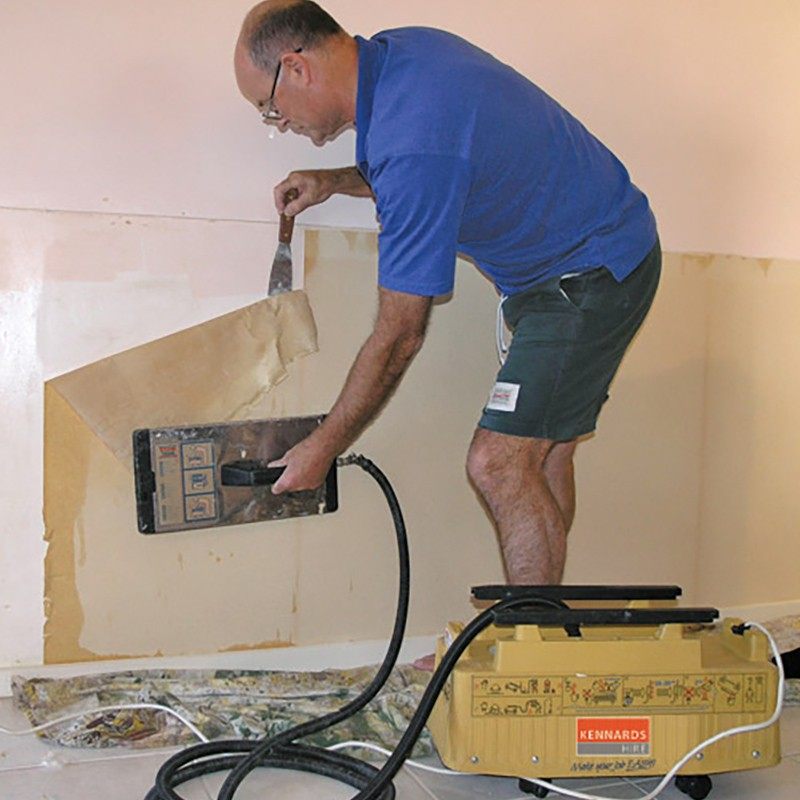
4. Proceed to the Steam Method if Necessary
In most instances, the first few steps should get the job done. However, if you still have sections of wallpaper hanging on for dear life, the steam method can be used as a last resort. The process is a bit more challenging, but it may be necessary if you have thick, old-style wallpaper that has been in your home for several years.
You’ll need to rent an electric steamer to loosen the remaining adhesive. Use your scoring tool to make additional tiny holes, just as you did prior to using the solvent. Next, with your gloves and eyewear on, place the steamer pad over the surface of the wallpaper, covering one section at a time. Hold it long enough so that the steam penetrates the paper and loosens the glue, but not so long as to damage the wall underneath. It’s a good idea to hold it for a few seconds and then lift to see if the wallpaper is softening. Continue until it does.
Once it has softened, remove it with a scraper or putty knife, starting at the seams and working inward. For this method, never use your fingers to peel the paper, as you can easily burn yourself!
Again, repeat these steps as needed for the more stubborn areas until the entire layer of wallpaper comes off.

Photo Source
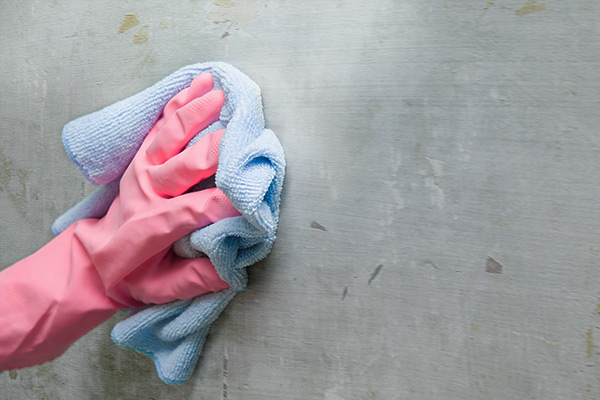
Step 5: Wipe Down the Walls
Make a solution with a small portion of tri-sodium phosphate (TSP) and water. TSP is typically used as a cleaning agent, stain remover, and degreaser, and can be purchased at any home improvement store. Apply it to your entire wall with a sponge to remove any remaining traces of glue. Once the walls are clean, wipe down the wall with a damp towel and allow to dry fully before proceeding to texture or apply another type of wallcovering.
As you can see, wallpaper removal is typically not an easy or fun task, but it is possible! Of course, if you are not up to tackling this project on your own, Mike’s Guys would be happy to help! Contact us today for more information.
Warm Regards,
Mike’s Guys